 Setup Guide")
Setting up multi-factor authentication (MFA) is a simple and effective way to increase the security of your online accounts. MFA lessens the likelihood of security breaches and ensures data protection for both business and personal accounts.
Single-factor authentication, such as a password, is still vulnerable to fraudulent activities and data breaches. MFA enhances password security with an additional authentication method, effectively deterring hackers.
Table of Contents
Stages of setting up multi-factor authentication
Setting up MFA is generally a straightforward process. However, specific instructions may vary slightly depending on the service or platform, but the following steps cover the core process.
Step 1
Begin by enabling MFA for your account in the security settings. Look for the MFA or two-factor Authentication (2FA) option.
Step 2
Choose the method you prefer, such as receiving codes via SMS or using a mobile app or a hardware token.
Step 3
Follow the provided instructions to set up your chosen MFA method. This often involves scanning a QR code or linking your phone number.
Step 4
After setup, test your MFA by attempting to log in. Make sure you can receive and enter codes correctly.
Below are step-by-step guides on how to set up MFA on different major platforms.
How to set up MFA for Microsoft 365
Activating MFA for your Microsoft 365 account improves your digital security. Thankfully, users of all skill levels can complete the process with ease.
Step 1
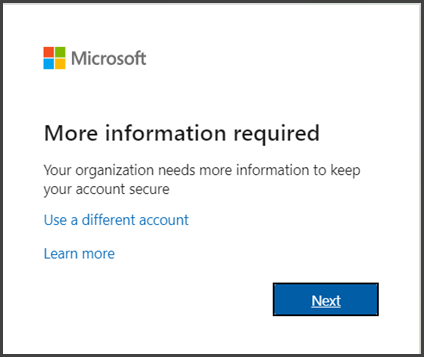
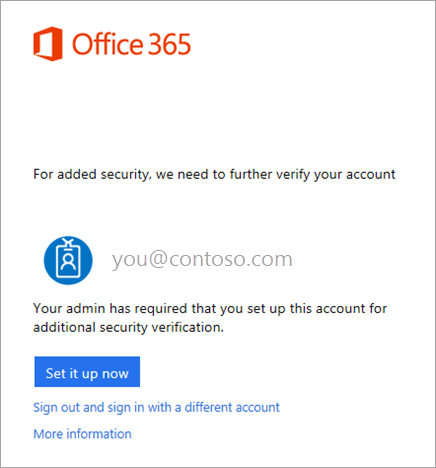
Sign in to Microsoft 365 with your work or school account with your password as you normally do. After you choose Sign in, the system will prompt you for more information.
Step 2
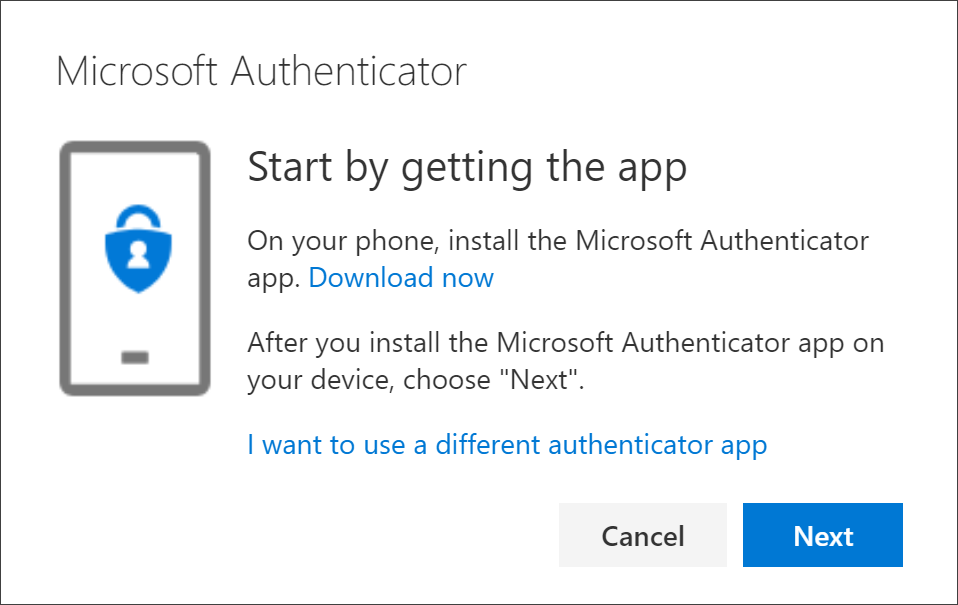
The default authentication method is the free Microsoft Authenticator app. If you have it installed on your mobile device, select Next and follow the prompts to add this account. If not, there is a link provided to download it.
Step 3
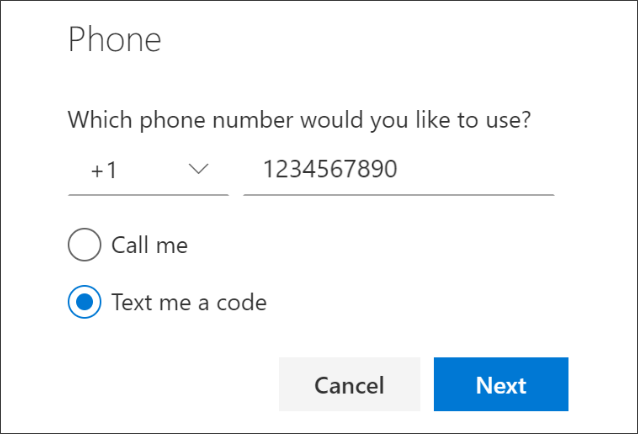
If you would rather have SMS messages sent to your phone, select “I want to set up a different method.” Microsoft 365 will ask for your mobile number and then send you an SMS message containing a 6-digit code to verify your device.
Step 4
Once you complete the instructions, Microsoft 365 will prompt you to provide additional verification information or action the next time you sign in. This could be typing the verification code provided by your authenticator app or sent to you by text message.

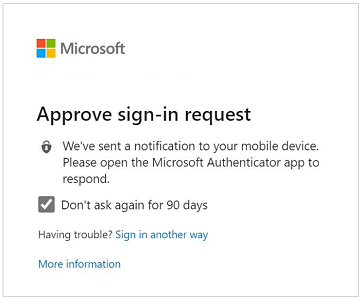
Step 5
Select Approve to add your account.
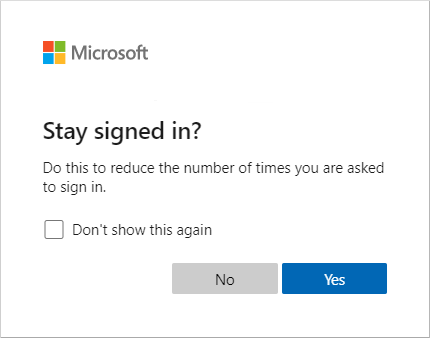
Step 6
You can stay signed in after adding your device to the Microsoft Authenticator app. To do this, simply select the “Stay signed in?” prompt, also known as Keep me signed in (KMSI).
How to set up MFA for Google Workspace
According to Google, turning on authentication is the single, most important action you can take to protect your business. Here are the steps you need to follow to enable MFA for Google Workspace:
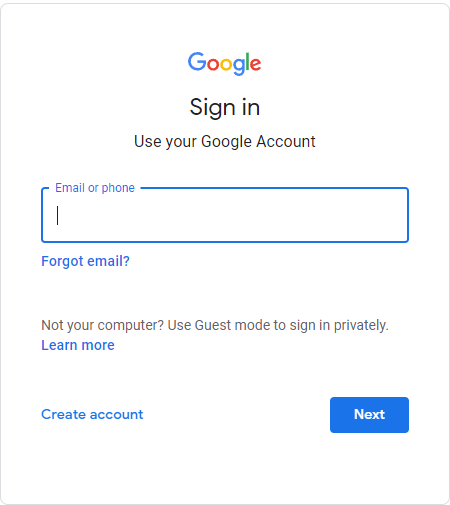
Step 1
Go to your Google Account.
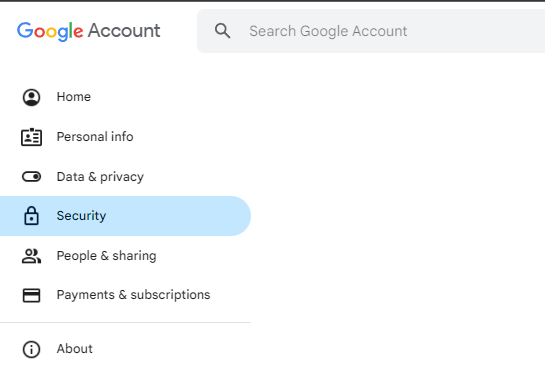
Step 2
On the left side, select Security.
Step 3
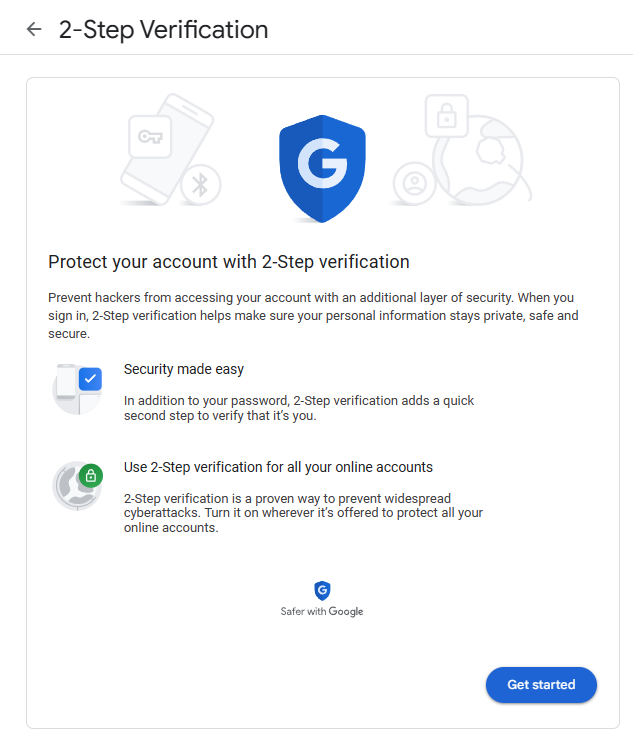
Then, click 2-Step Verification and select “Get started” on the next screen.
Step 4
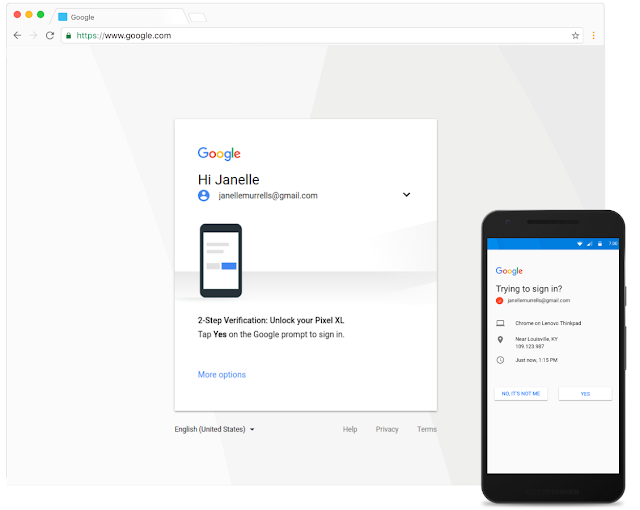
Google prompt is the default verification method for Google Workspace. You can set up your Android or Apple mobile devices to receive a sign-in prompt.
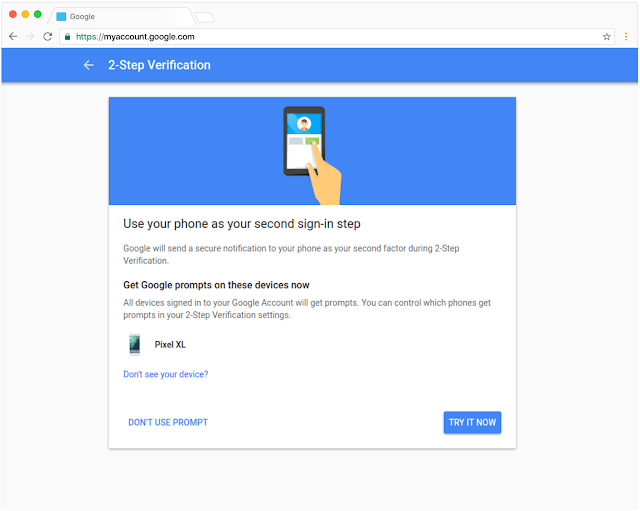
Step 5
After setting Google prompt as the verification method, you can simply confirm your identity by tapping your mobile device the next time you sign in.
Additional tips
Google Workspace lets you add other verification methods, such as Google Authenticator and backup verification code.
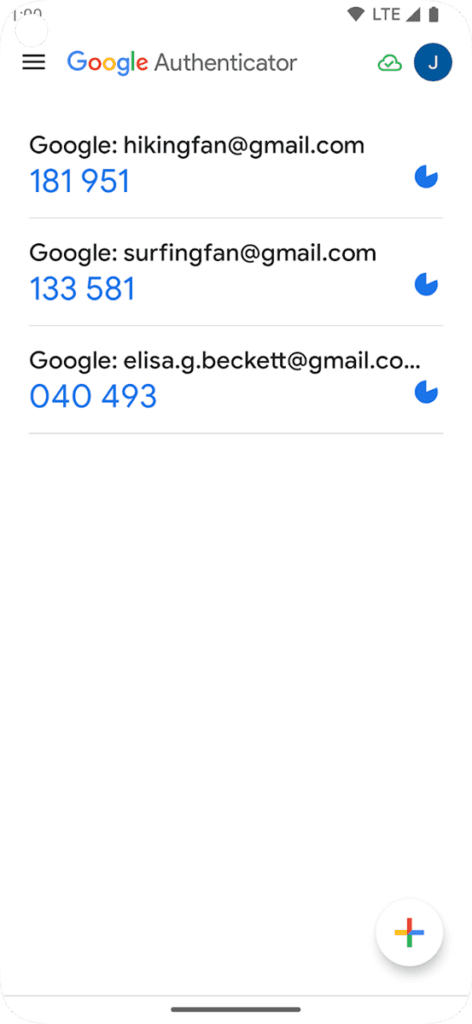
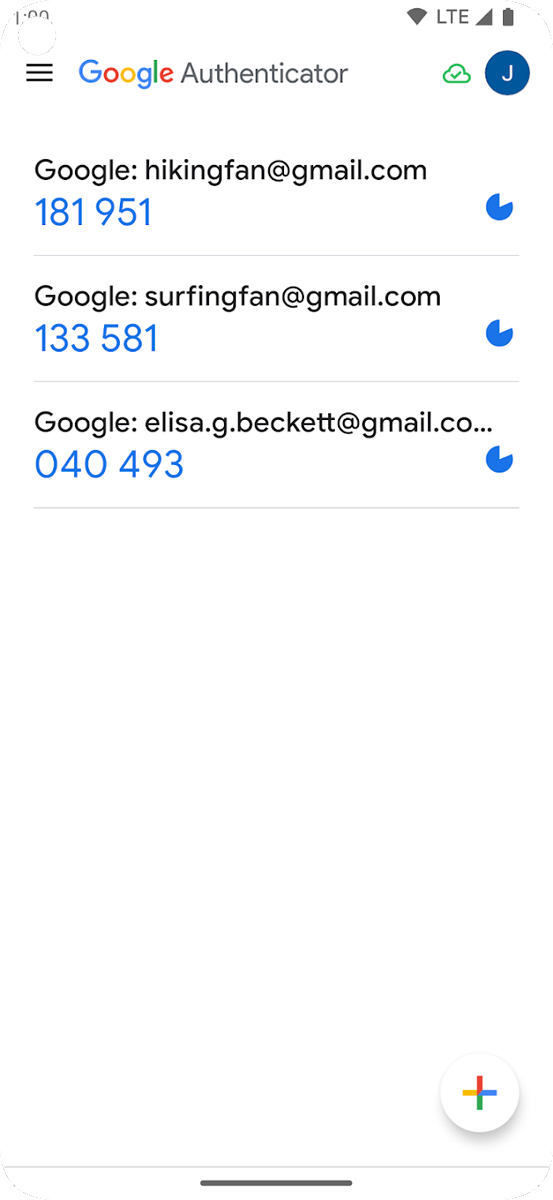
Google Authenticator
Google Authenticator is a mobile app that generates one-time verification codes. You can enter the code to sign in to your computer and other devices. It can generate codes even without an internet connection.
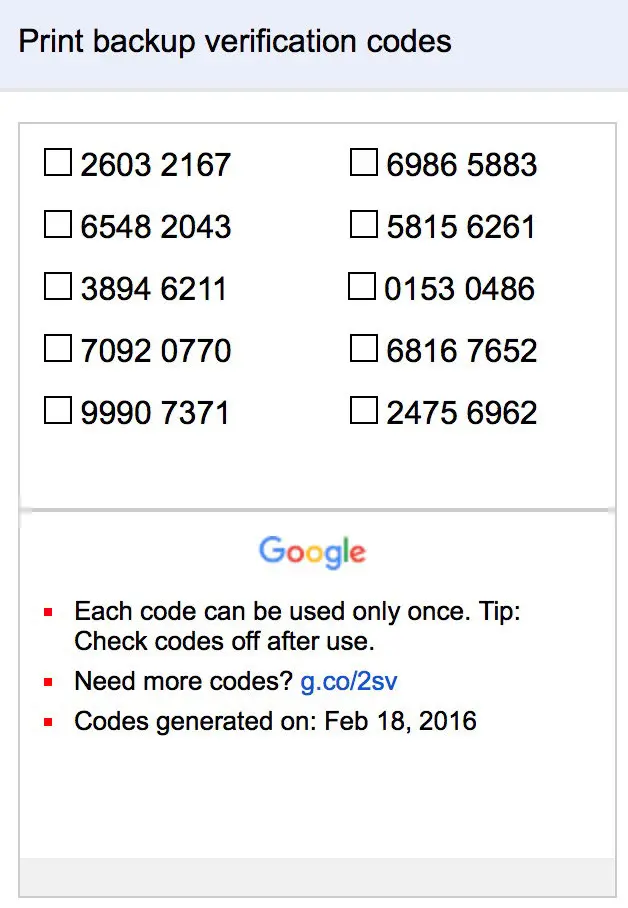
Backup verification code
If you cannot use a mobile device for verification or if you work in an area where carrying mobile devices is not possible, you can generate and print backup codes ahead of time for your use.
How to set up MFA for Salesforce
Salesforce requires all their users to use MFA. Below are the steps on how to turn on MFA in your Salesforce account:
Step 1
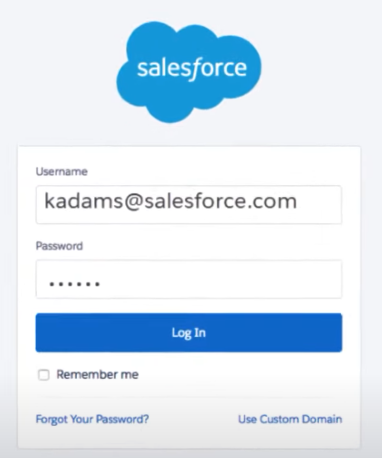
Log in to your Salesforce account with your username and password, as usual.
Step 2
The system will prompt you to provide a verification method. There are different verification methods you can use, including the Salesforce Authenticator.

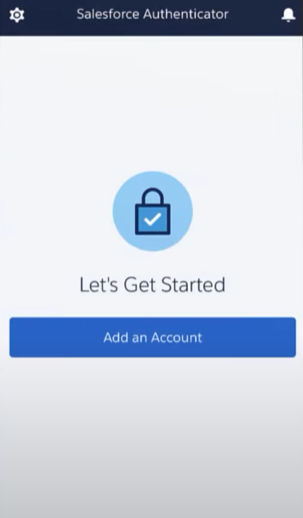
Step 3
Open the Salesforce Authenticator and follow the instructions to connect it to your Salesforce account.
Step 4
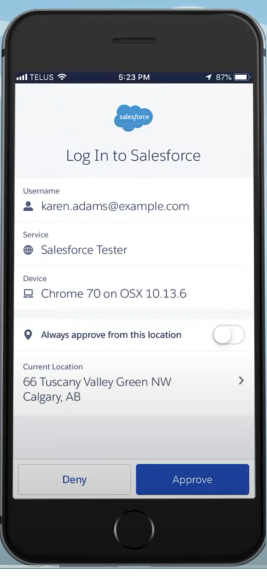
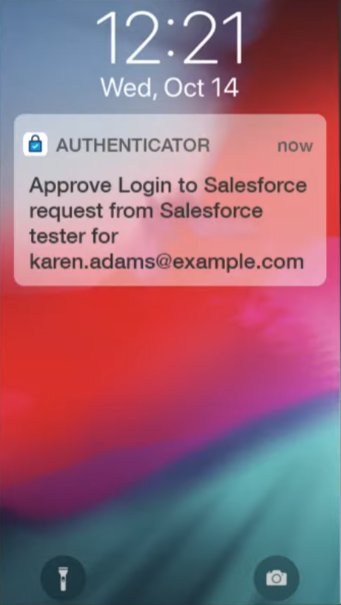
You will now receive a notification on your mobile device from the Salesforce Authenticator app whenever you log in to your account with your username and password. This notification will show you details about the login attempt, such as the location, device, and browser. You can even use the authenticator app offline.
Select Approve to verify your identity.
Additional tip
Aside from the Salesforce Authenticator app, the platform also supports other third-party authenticator apps, including Google Authenticator or Microsoft Authenticator.
Furthermore, you can use security keys for verification. A security key is a physical device similar to a USB that you can plug into your computer that supports the WebAuthn or U2F standards, like Yubico’s YubiKey or Google’s Titan Security Key.
How to set up MFA for Oracle
Activating MFA for Oracle is effortless. Follow the steps provided below.
Step 1
Log in to your Oracle account.
Step 2
Download and install the Oracle Mobile Authenticator (OMA) on your mobile device.
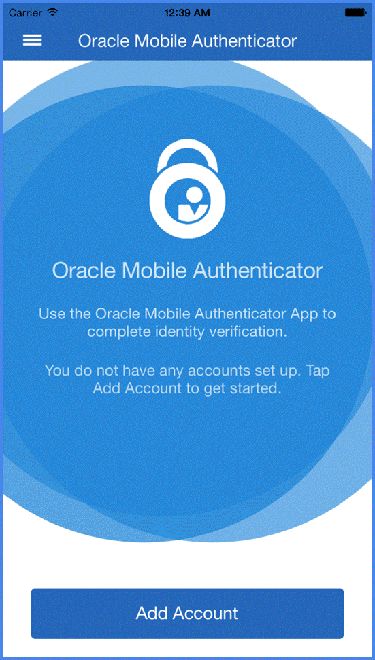
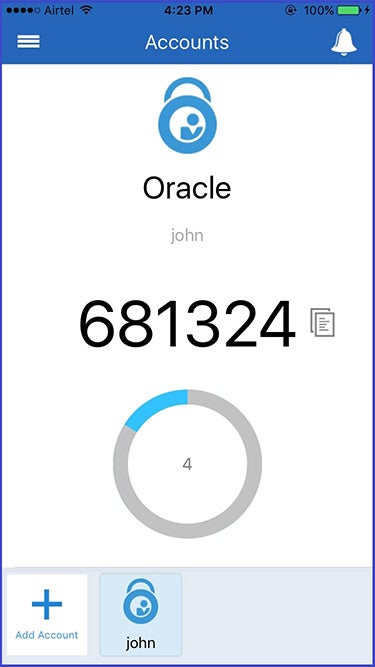
Step 3
Open the authenticator app and use it to scan a QR code provided by Oracle’s IAM service. Oracle IAM typically generates unique codes for each user during the MFA setup process. After scanning, the app can now generate time-based one-time passwords (TOTPs) for you.
Step 4
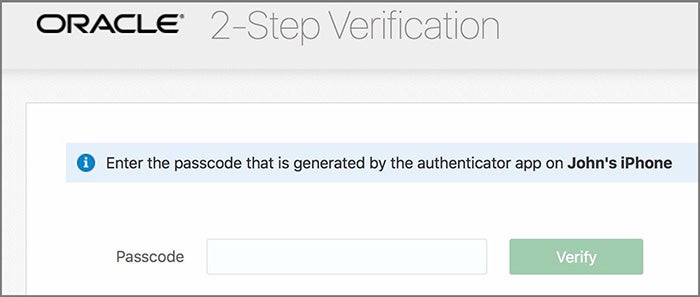
Go to the Oracle Cloud Infrastructure sign-in page, enter your username and password, and click Sign In. The system will ask you to enter a one-time passcode provided by the OMA.
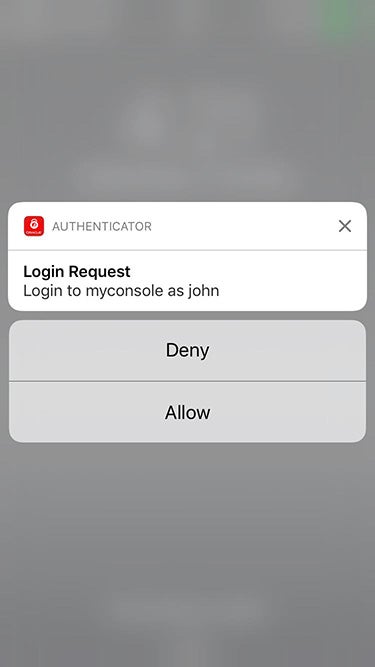
Oracle is incompatible with any third-party authenticator tools that follow the TOTP specification. You must use the OMA app to receive push notifications. Oracle sends push notifications only to the device with the OMA installed. When the notification appears on the device, you can tap Allow or Deny to authorize or block the login.
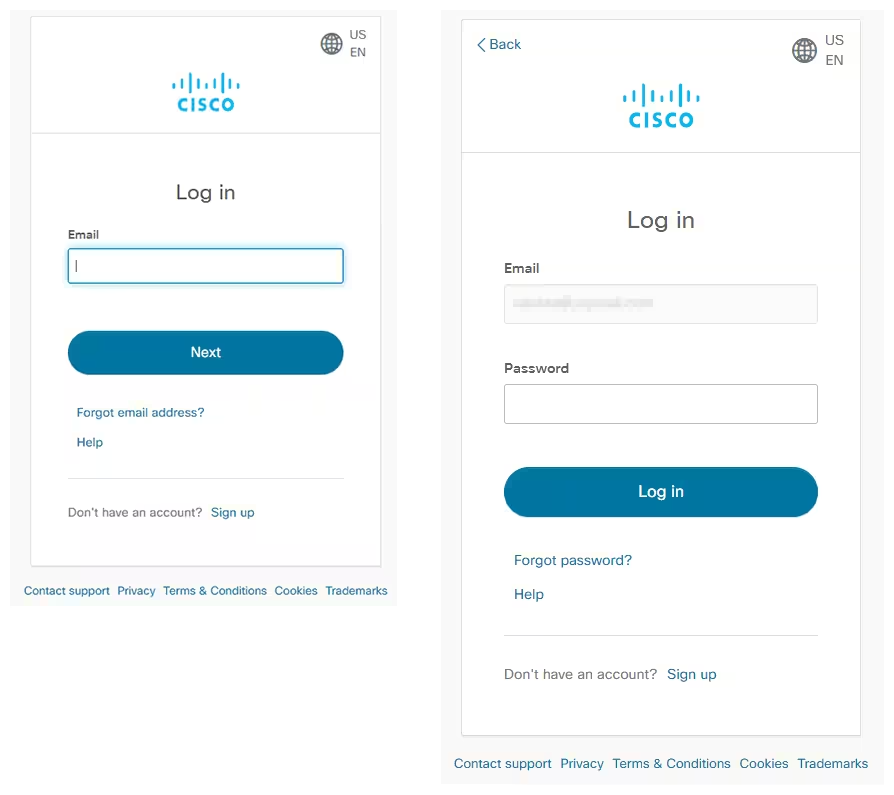
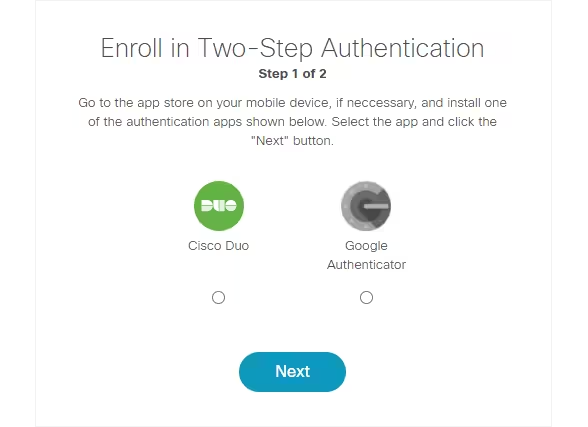
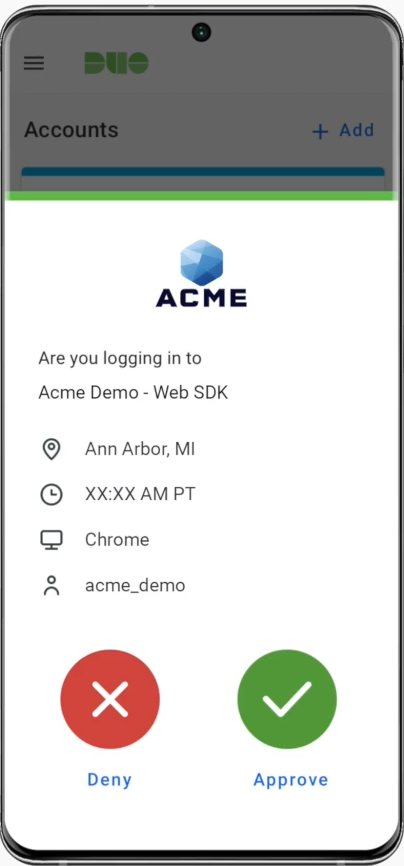
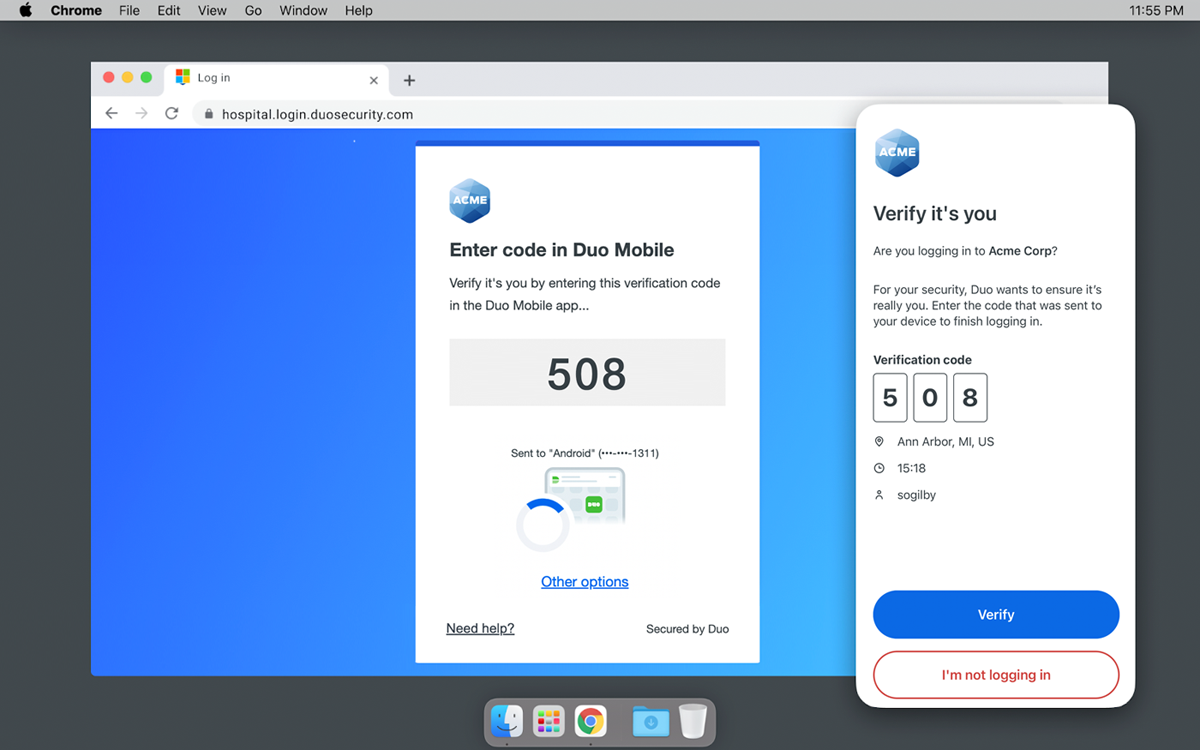
How to set up MFA for Cisco
Cisco supports Duo Mobile or Google Authenticator apps as verification methods. Follow the step-by-step guide below to learn more:
Step 1
Log into your Cisco account using your desktop.
Step 2
Download the Duo Mobile or Google Authenticator app from the App Store or Google Play Store. Then, select the button of your preferred app.
Step 3
The setup process varies slightly depending on the authenticator you chose.
For Duo
- Login to set up your Duo Mobile.
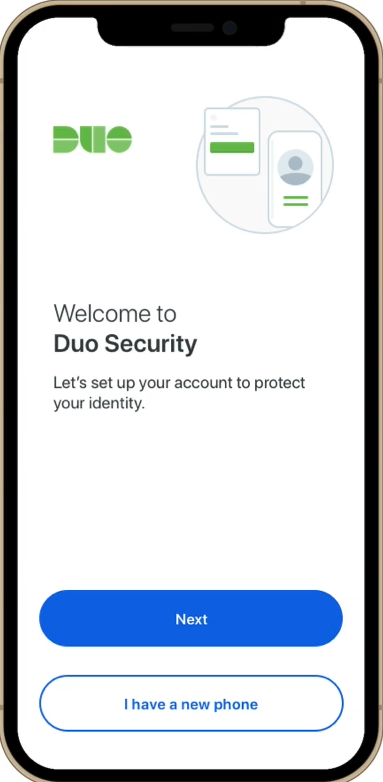
- Scan the QR code on your browser to add your initial account to Duo Mobile.
- Give the new account a name to complete adding it to Duo Mobile.
- Now you can respond to Duo push authentication requests, generate passcodes to log in to applications, or choose to authenticate via phone callback.
For Google Authenticator
- Set up Google Authenticator on your device.
- Open the Google Authenticator app to see a 6-digit code that refreshes every few seconds
- Go back to the Cisco login page on your computer. Then, enter the 6-digit code displayed on the Google Authenticator app in the MFA field.
- After entering your code, you should be able to access your account, completing the process.
How to set up MFA for Amazon Web Services (AWS)
Unlike most other platforms, Amazon Web Services (AWS) has ended support for enabling SMS MFA. They recommend that customers use one of the following alternative methods: FIDO security key, virtual (software-based) MFA device, or an exclusive hardware TOTP device from Thales.
Before going through setup, you have to select an MFA device for authentication.
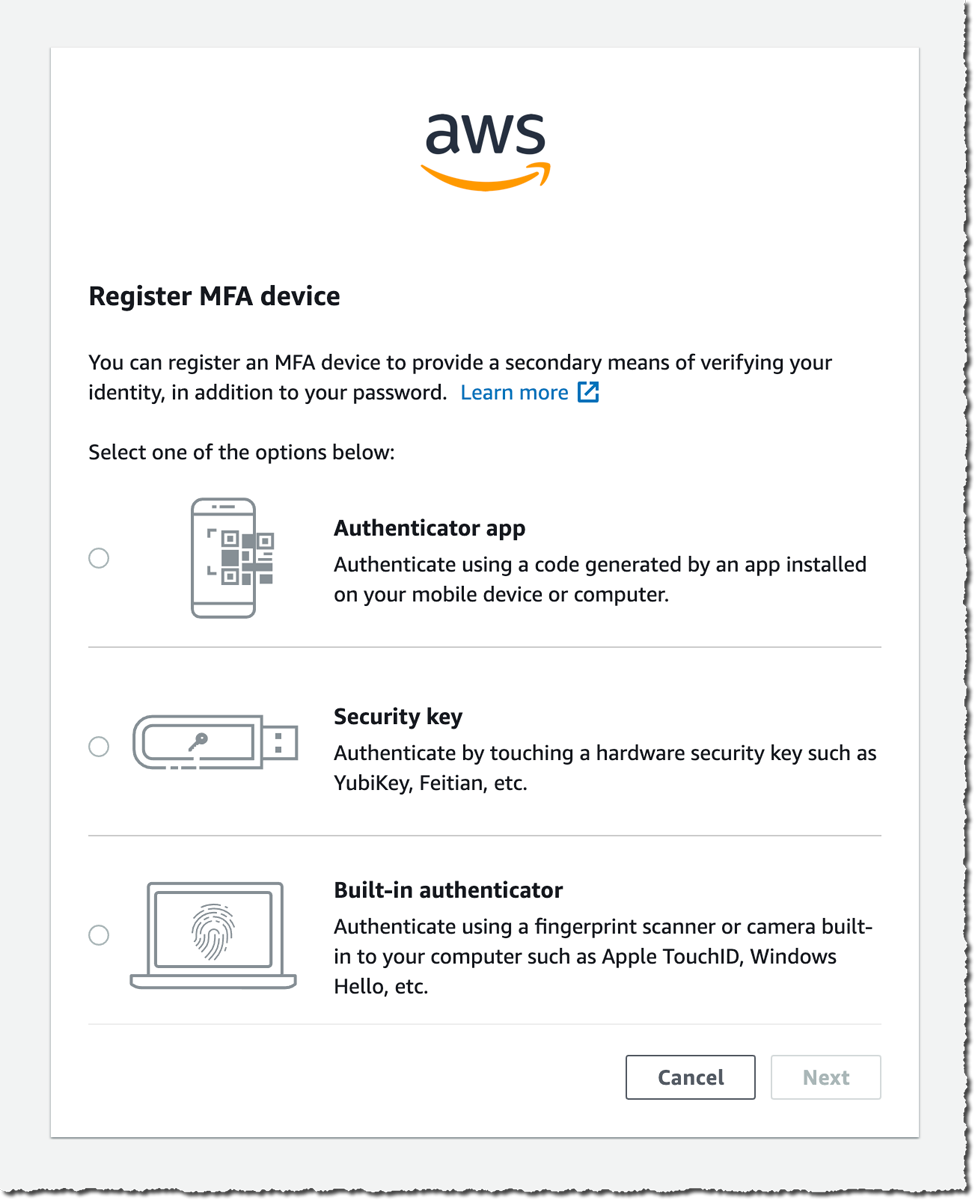
Here are the steps to follow for each AWS MFA verification method:
Fido security key

Step 1
Insert your FIDO security key into the USB port of your computer.
Step 2
Open your web browser and go to your AWS Management Console login page.
Step 3
Enter your username and password.
Step 4
After entering your password, AWS will ask for an MFA code. Tap the FIDO security key when prompted. This will generate a unique code that is sent to AWS to authenticate your login.
Virtual authenticator apps
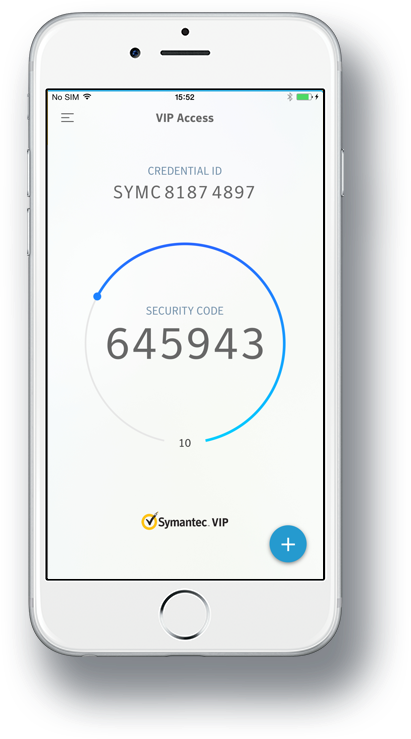
Step 1
Install apps from Google Play or the App Store that are compatible with your smartphone. AWS supports the following authenticator apps for Android and iOS devices:
- Twilio Authy Authenticator
- Duo Mobile
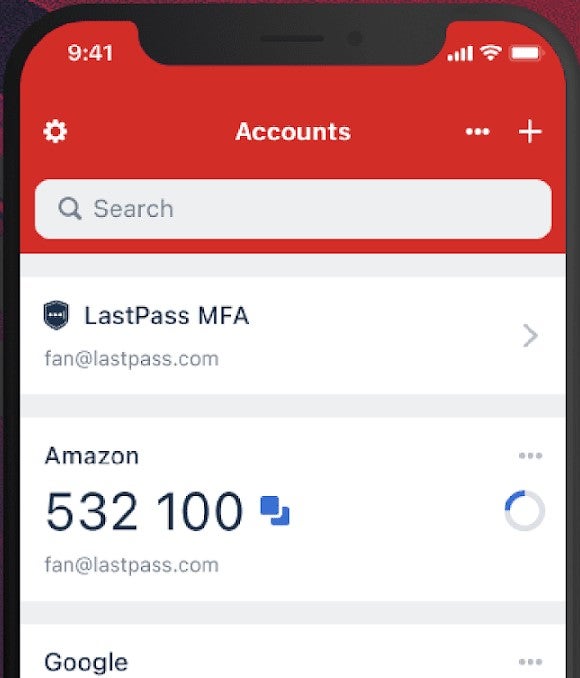
- LastPass Authenticator
- Microsoft Authenticator
- Google Authenticator
- Symantec VIP
Step 2
Launch your authenticator and follow the prompt to set it up.
Step 3
Open your web browser and log in to your AWS Management Console page using your username and password.
Step 4
After entering your password, the system will prompt you for an MFA code. Check the authenticator app to see a six-digit code.
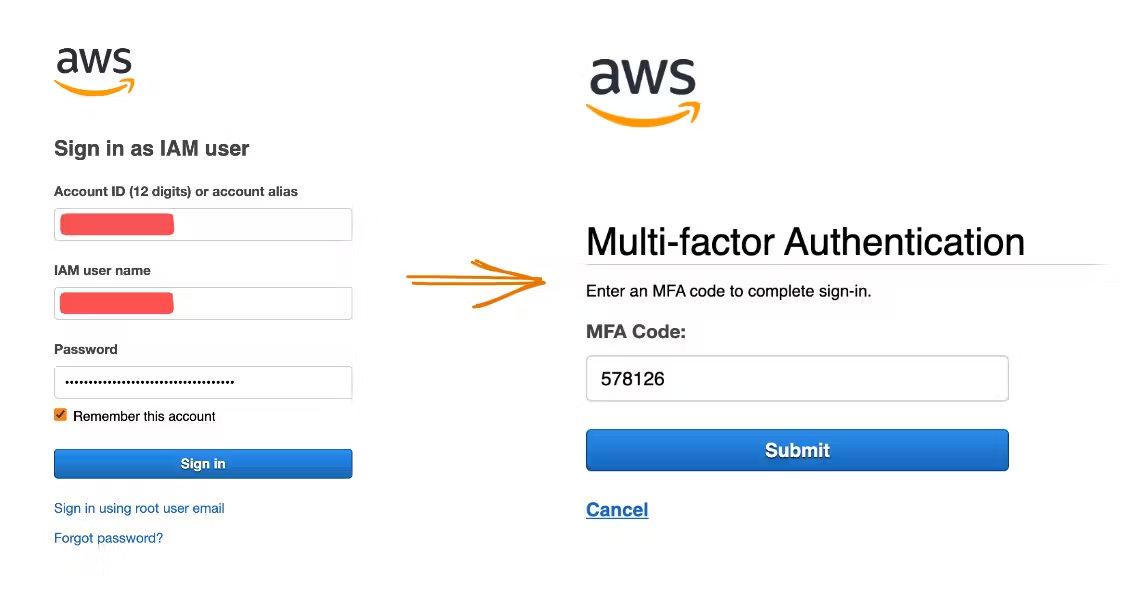
Step 5
Enter the code into the AWS login page immediately to complete the setup process. Take note that this code changes every 30 seconds or so for security reasons.
Hardware TOTP
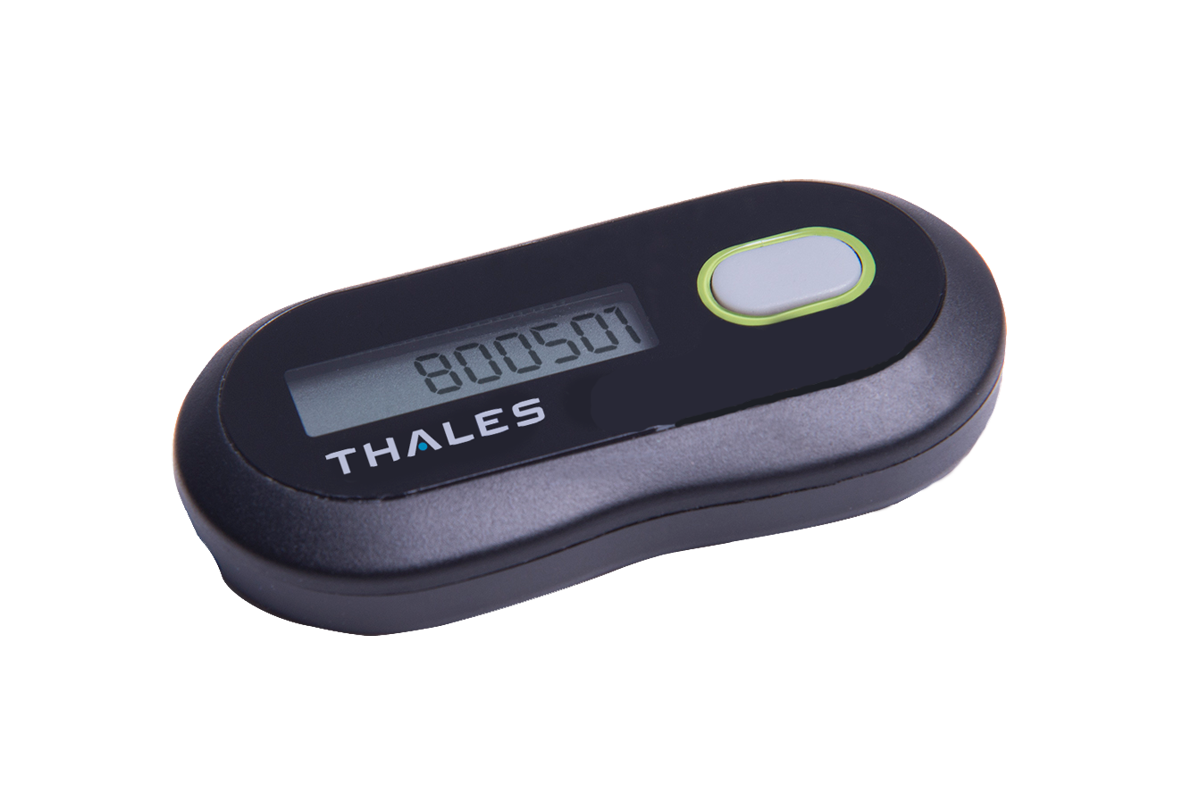
Step 1
Log into AWS with your username and password.
Step 2
The system will require an MFA code. Press the button on your hardware TOTP token to display the six-digit code.
Step 3
Enter that code into the AWS page.
Step 4
You can log into the system once upon sending your MFA code.
Bottom line: Setting up MFA is an easy security measure that pays dividends
MFA stands as a powerful defense against unauthorized access to sensitive data and systems, particularly in countering phishing attacks, password breaches, or device theft. In fact, according to figures cited by the U.S. national security cyber chief, utilizing MFA could thwart as much as 80–90% of cyberattacks.
Organizations should readily embrace MFA as a straightforward and potent security measure to bolster network security, safeguard data, and uphold their reputation. The ease of implementation is a significant advantage, with various tools and services available, some of which are cost-effective or even free. These solutions offer additional benefits such as backup codes, push notifications, or offline access, enhancing your security without adding complexity.
However, it’s important to acknowledge that while MFA greatly strengthens security, it is not completely foolproof. No security measure is. It’s always possible that new vulnerabilities or attack methods may emerge. Therefore, it’s essential to remain vigilant and informed about the latest security developments.
Still, by incorporating MFA into your security strategy, you can substantially reduce the risk of unauthorized access and data breaches, all while providing a seamless user experience.
Even with MFA in place, strong passwords are a must. Here are the best enterprise password management software to keep track of complex credentials.